Embellished Greeting
Cards
|
|
Dee
Gruenig
|
|
|
|
|
|
|
|
Projects designed
and demonstrated by
Dee Gruenig.
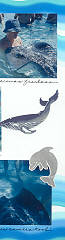
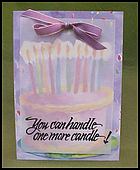
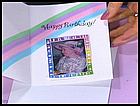
One More
Candle Birthday
Card*
Materials:
blank card &
envelope
light vellum
Posh Impressions
stamps:
- One More Candle
- Mosaic Frame
brush art markers
Posh Impressions
Rainbow Sponge
Posh Impressions
Poshtel Inkabilities
rubber gloves
misting water bottle
scissors
1/8" hole punch
adhesive
cleaning tray
damp rag
stamping mat
back-up paper
opaque sticker paper
black embossing ink
& powder
heat tool
12" of 3/8" wide
ribbon
photos or copies
pencil
|
|
Figure
A
|
|
|
|
Figure
B
|
|
|
|
Figure
C
|
|
|
|
Figure
D
|
|
|
|
Figure
E
|
|
|
|
Figure
F
|
|
|
|
Figure
G
|
|
Steps:
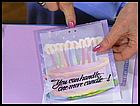
1. Trim vellum to
card size. Stamp
"One More Candle" on
vellum with
embossing ink. Shake
on embossing powder
liberally (figure
A) and tap
excess back into
jar. Set with heat
tool.
2. Re-trim
vellum, centering
works, allowing 1/2
inch of card to show
around all four
edges.
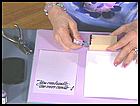
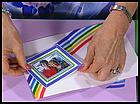
3. Mark center of
vellum about 1/2
inch from top with
pencil. Position on
card front and punch
a hole 1/4 inch on
either side of
pencil mark through
vellum and card (figure
B).
4. Thread ribbon
through holes and
tie bow on card
front. Trim excess
ribbon.
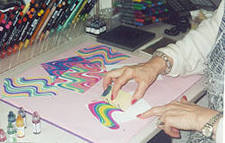
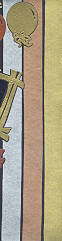
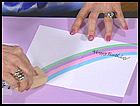
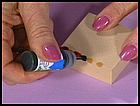
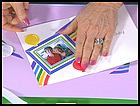
5. Use Poshtels
to apply ink to one
edge of rainbow
sponge (with rubber
gloves on to protect
hands) (figure C).
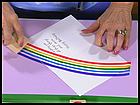
Spritz the sponge
with a light mist of
water. Pull inked
sponge in one fluid
motion in an arc
across the inside of
the card, beginning
and ending off the
edge of the card on
the backup paper (figure
D).
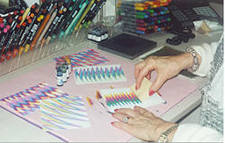
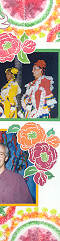
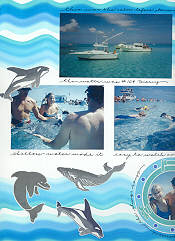
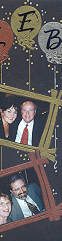
6. Color frame
stamp using brush
art markers and
stamp onto opaque
sticker paper (figure
E). Repeat as
desired. Cut out
frames and openings,
leaving tiny white
edges. Trim photos
to fit.
7. Remove backing
from one side of
frames and position
photos. Carefully
remove remaining
backing while
holding photo and
place right side
down on a flat
surface. Smooth
photo down onto
sticky frame.
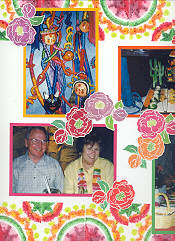
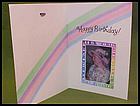
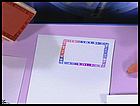
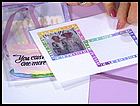
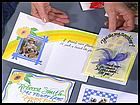
8. Apply adhesive
to photo backs if
desired and stick
photos in place
inside card (figure
F) and on
envelope (figure
G).
9. Address
envelope. Note:
You'll need to visit
your post office for
proper postage and
hand cancellation of
this card.
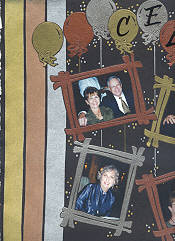
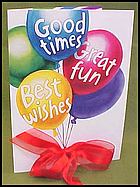
Good Times
Birthday Card**
Materials:
blank card &
envelope
Posh Impressions
Rainbow Sponge
Posh Impressions
needle-nose
re-inkers
rubber gloves
stamping mat
back-up paper
cleaning tray
damp rag
misting water bottle
irresistible ink
brush art markers
Posh Impressions
RC-Graphic Frame
Posh Impressions
Duet Balloon stamp
set
scissors
1/8" hole punch
opaque sticker paper
adhesive
15" of 1" wide
ribbon
photos or copies
|
|
Figure
H
|
|
|
|
Figure
I
|
|
|
|
Figure
J
|
|
|
|
Figure
K
|
|
|
|
Figure
L
|
|
|
|
other
ideas
|
|
Steps:
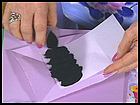
1. Using
needle-nose
re-inkers (and
wearing rubber
gloves to keep hands
clean), apply about
1/2 inch of ink to
one edge of a short
side of a Rainbow
sponge. Apply about
1/2 inch of resist
ink next to the
first color and
repeat to fill the
whole edge (figure
H).
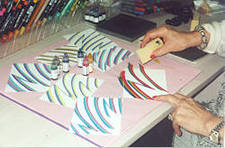
2. Spritz the
sponge with a light
mist of water. Pull
the inked sponge in
one fluid motion in
an arc across the
inside of the card,
beginning and ending
off the edge of the
card on the back-up
paper (figure I).
3. Spritz the
sponge again with a
light mist of water
and pull it in the
same manner across
the envelope.
4. Using brush
art markers, apply
several colors of
ink to the frame
stamp. When it is
completely colored,
exhale several times
on the ink to
re-moisten it.
5. Stamp the
frame onto opaque
sticker paper
pressing firmly and
evenly to all areas
of the stamp. (Stand
up and get your
weight above the
stamp, as large
stamps require some
muscle.) Lift the
stamp straight up
while holding the
sticker paper down
with your free hand.
Repeat for as many
frames as desired,
cleaning and drying
stamp between color
changes. Stamp
balloons in the same
manner.
6. Cut out the
frames (and
balloons) leaving
tiny white edges.
Trim frame openings
in the same manner.
Trim photos to fit.
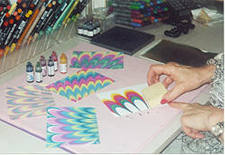
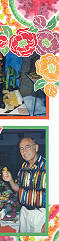
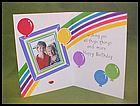
7. Remove backing
from one edge of the
sticker frames and
position photos (figure
J). Carefully
remove remaining
backing while
holding photo and
place right side
down on a flat
surface, smoothing
photo down over
sticky frame (figure
K).
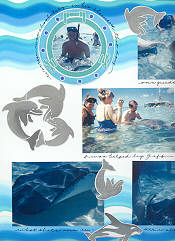
8. Apply adhesive
to photo backs if
desired and stick
framed photos in
place on card and
envelope.
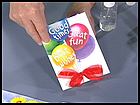
9. Punch two
small holes 1/2 inch
apart in card front
on either side of
balloon strings.
Insert ribbon, tie
bow on card front,
and trim excess from
ends (figure L).
10. Address
envelope. Note:
You'll need to visit
your post office for
proper postage and
hand cancellation of
this card.
|

 .
.