|
3-D Crystal Lacquer Instructions
Welcome and thank you for purchasing 3-D Crystal
Lacquer
*3-D Crystal Lacquer 2 oz Starter Kit
Items in the kit:
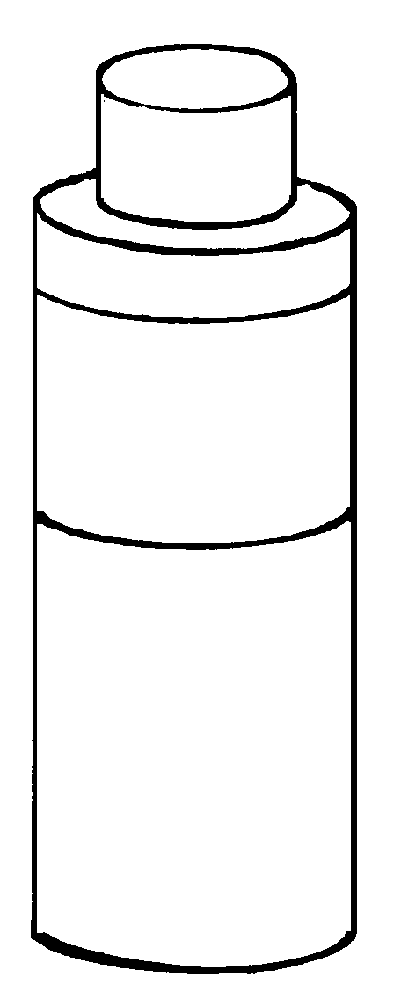
3-D Crystal Laquer (2 oz) |
Spout |

Cap |
Applicator Tip |

Cleaning Pin |
*3-D Crystal Lacquer 4 oz Starter Kit
(Refill)
Items in the kit:
|
3-D Crystal Lacquer
(4 oz) |
Spout |
Cap |
*Note: The 4 oz Crystal Lacquer can
be used as refill of 2 oz starter kit OR you can install
Applicator Tip on the spout to apply onto images.
(Applicator Tip sold separately)*
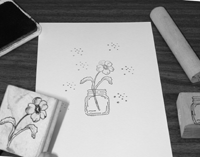
Before You Start
* Make sure your project and work area is dust free.
* Use and store 3-D Crystal Lacquer at room temperature.
* DO NOT SHAKE 3-D Crystal Lacquer. It will create air
bubbles.
* Have extra tissue and cotton swabs handy for
corrections.
* Paint brush (optional) can be used for background.
* Normal drying time is 15 to 30 minutes. Larger areas
and thicker application will take longer to dry.
* When dried completely, it will appear “Crystal Clear”
* After you finish the project, make sure to wash the
applicator tip with running warm water thoroughly
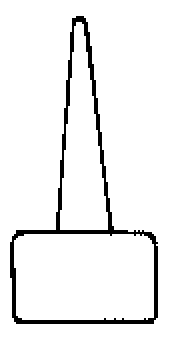
How to install an applicator tip.
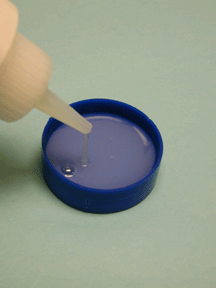
1). Remove the cap from the bottle and install the
spout. (Fig. 1)
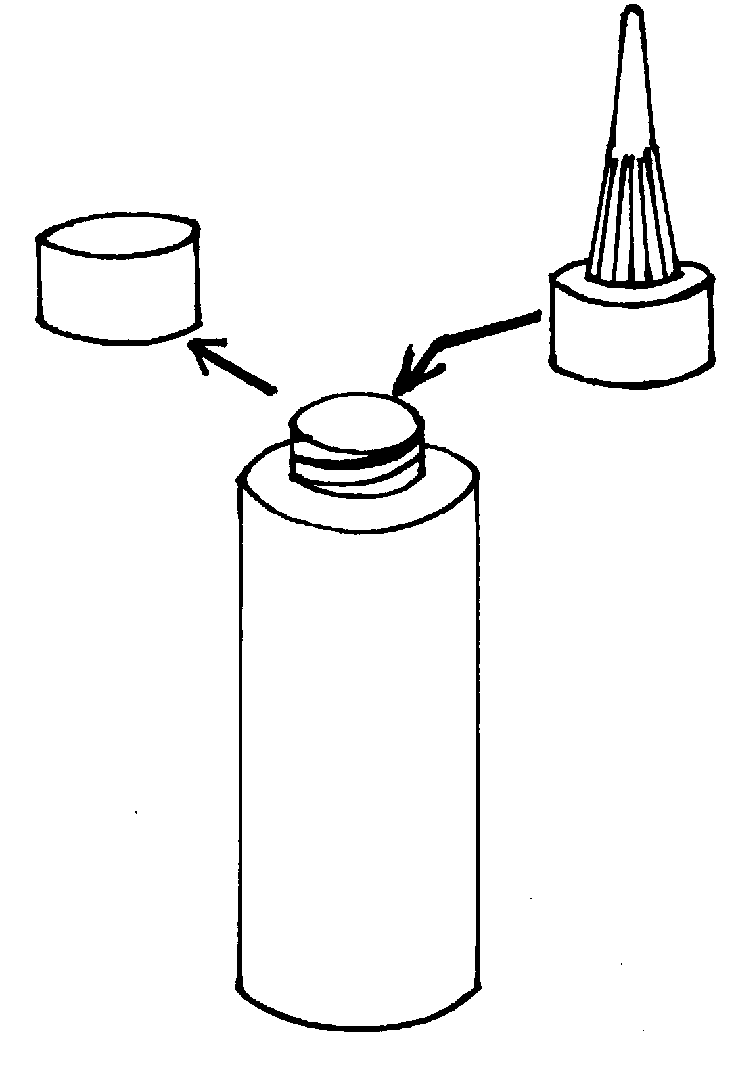
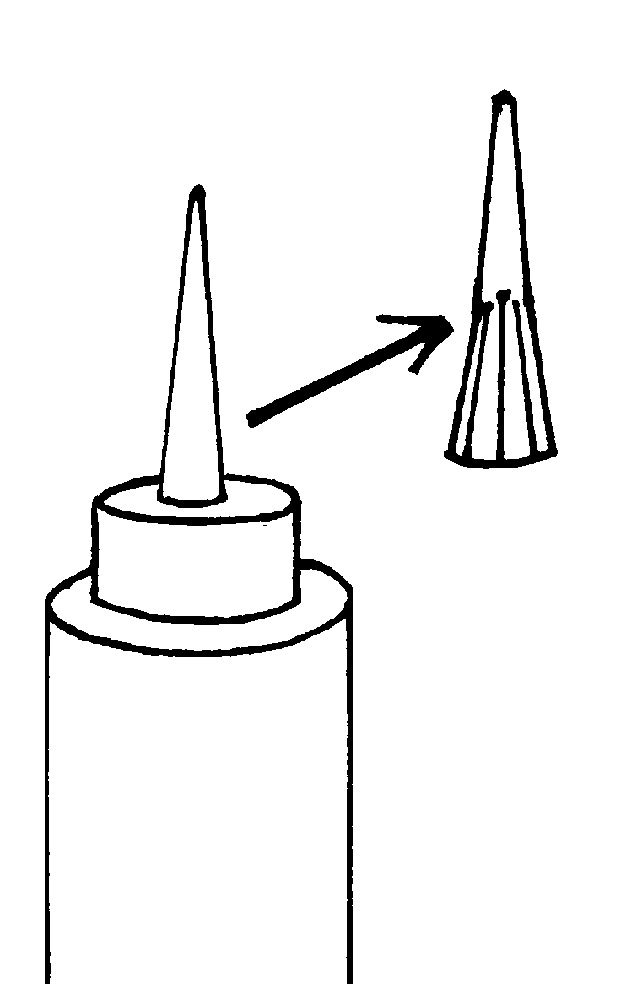
Fig. 1
Fig. 2
2). Dispose the original cap.
3). Remove the long cap from the top of the
spout.(Fig.2)
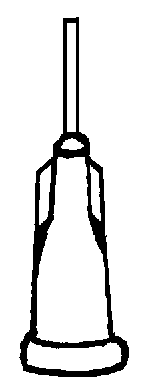
4). Cut off the spout using scissors or knife as
indicated on Fig.3.
5). Twist and push applicator tip onto
the spout you just cut.(Fig.4)
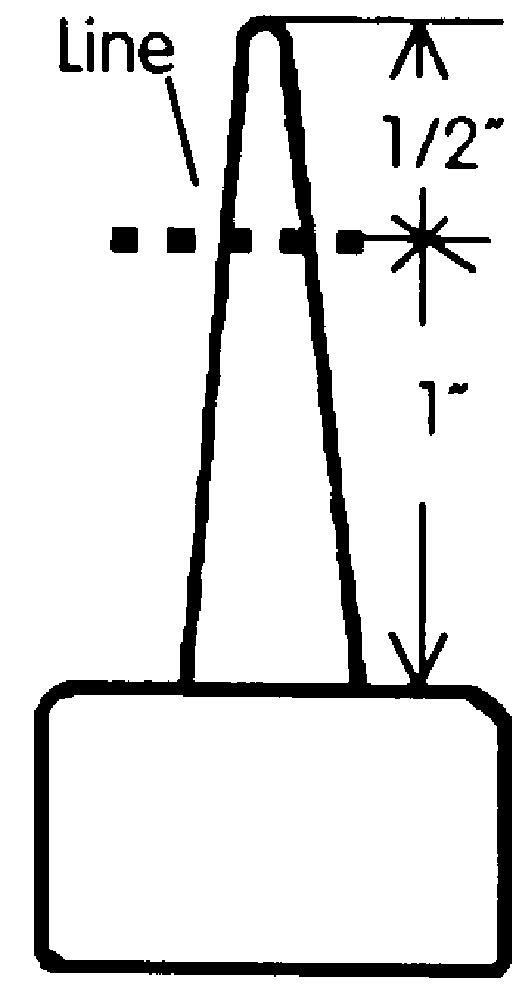
Fig. 4
Fig. 3
6). After you use 3-D Crystal Lacquer,
remove the applicator tip and wash with
running warm water. Store the tip in safe place.
Replace the long cap back onto the
spout to keep lacquer from drying up.
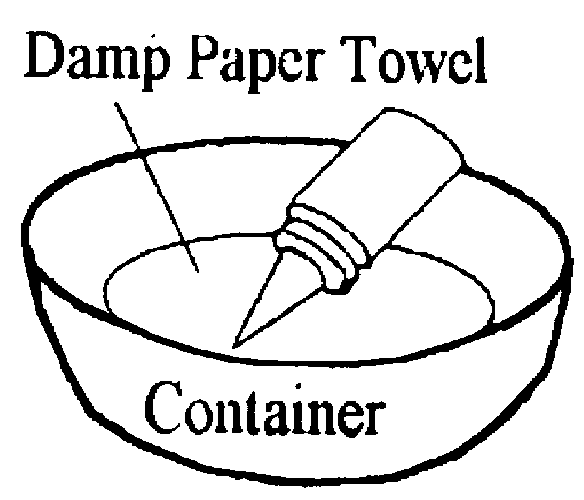
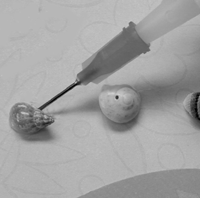
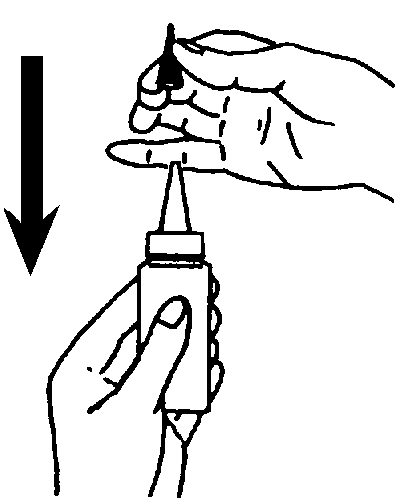
How to prevent the tip from clogging.
1). While you are using 3-D Crystal Lacquer, let it
sit
(tip side down) on a moist paper towel in a
container. This will prevent the tip from becoming
dried & clogged while in used. (Fig.5)
2). When you are finished, wash the tip with runningwarm
water making sure the inside is clean. You can blow into
the tip to clear all water from inside the metal tube.
Fig. 5
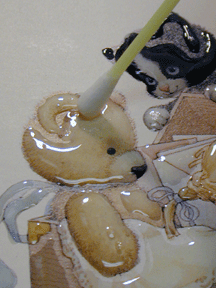
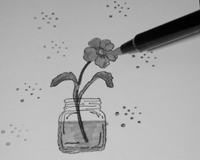
Basic Technique of 3-D Crystal
Lacquer
1-A) Outline image Outline every image you want to
raise, and let it dry.
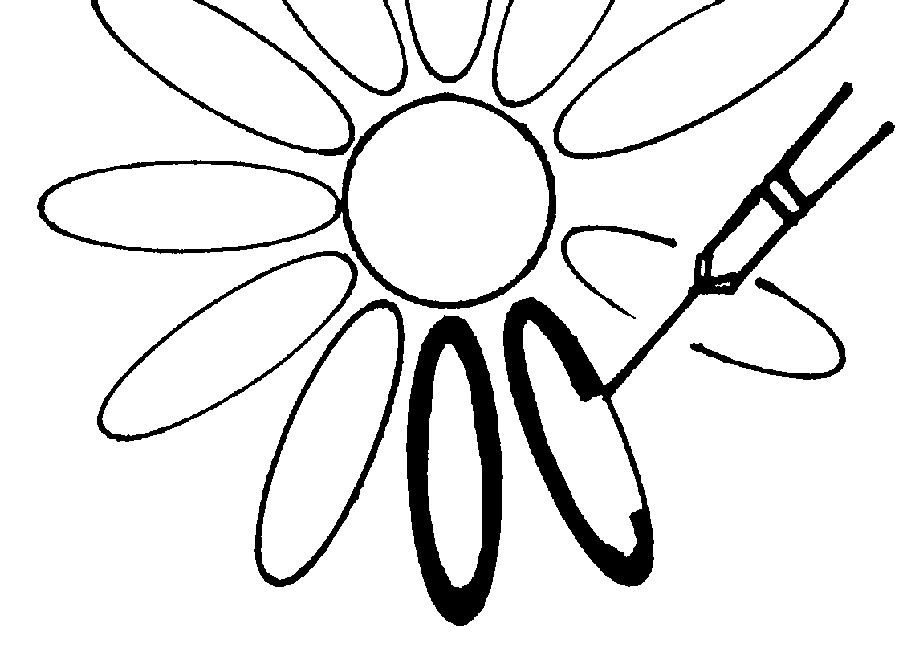
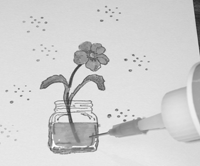
2). Fill inside the outlined image.(Keep adequate spaces
between the image.)
If the sections are too close to each
other, skip over one section to the next and apply the
lacquer. (This will prevent from merging.) After the
lacquer is dried, go back to skipped section and apply
lacquer. * In case of making mistakes or air bubbles get
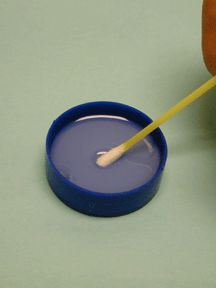
in the 3-D Crystal Lacquer, wipe them out with Q-Tip as
soon as possible. Then reapply the lacquer.
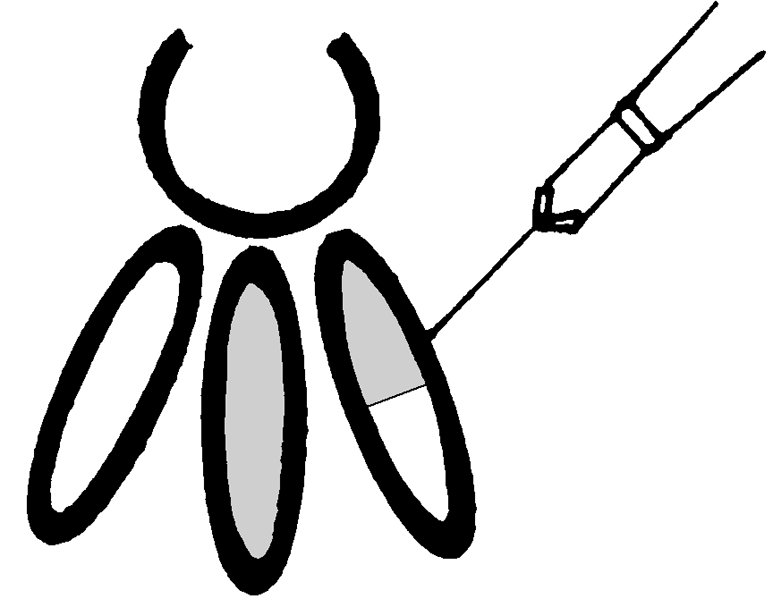
3). Raise images. You can reapply 3-D Crystal Lacquer
over the dry areas to raise levels. (Please do not
overlap between the images!) * Use Q-Tip tocorrect
overlaps*
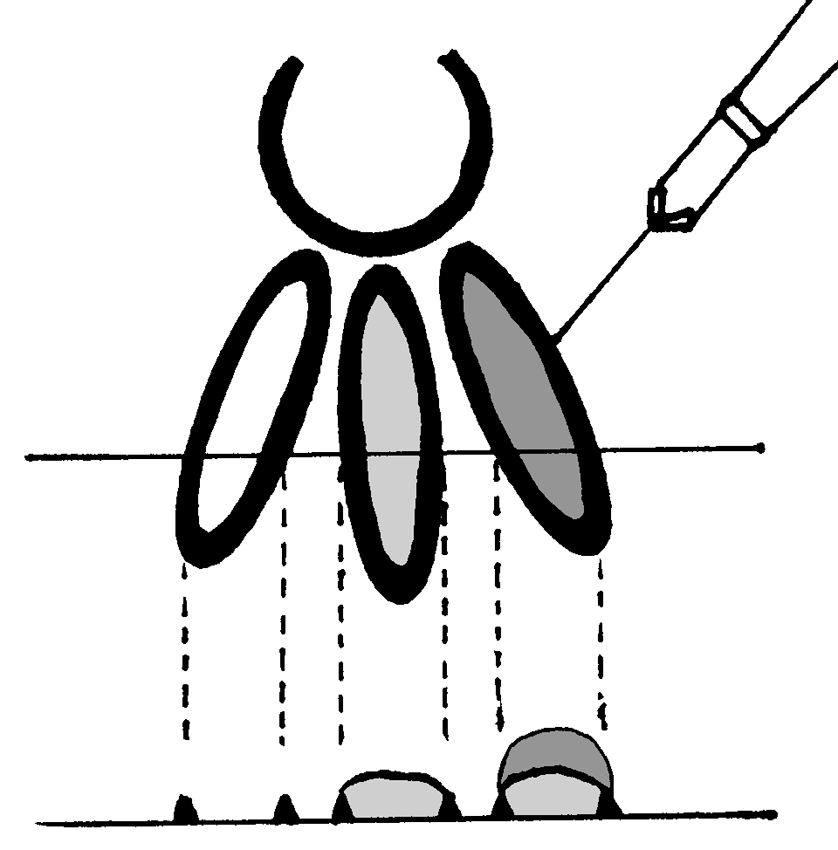 (Side
View) (Side
View)
|
Outline Only |
1st
Layer
|
2nd
Layer
|
Advanced Techniques
for Picture Images
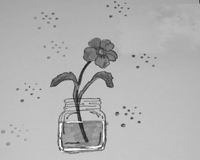
(1). Wavy images such as flag or fabric,
are raised
wherever the color appears to lightest.
Raise the lighter colored areas
 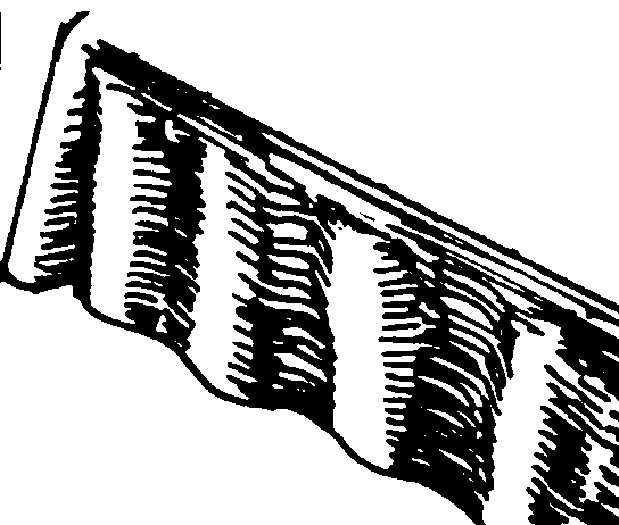
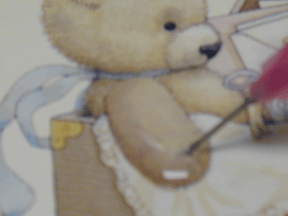
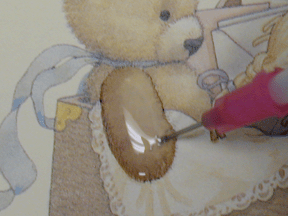
(2). Rounded images are raised the
highest in areas that curve towards you. Areas that
recede or are away from you can be outlined only.
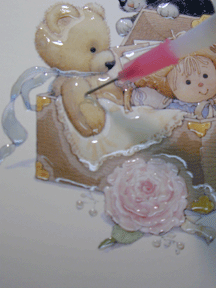
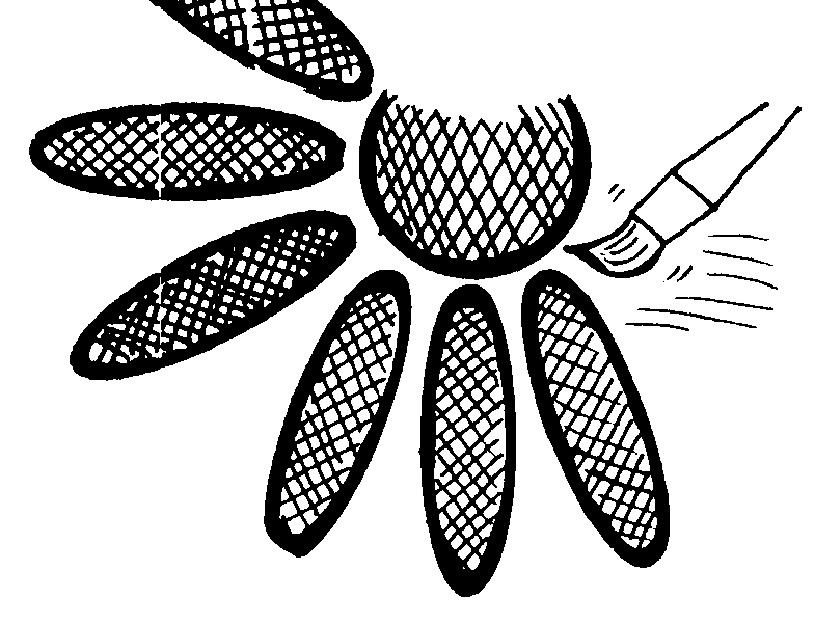
(3). Use Soft-bristled paintbrush to
apply a final layer to the spaces between the images.
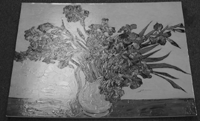
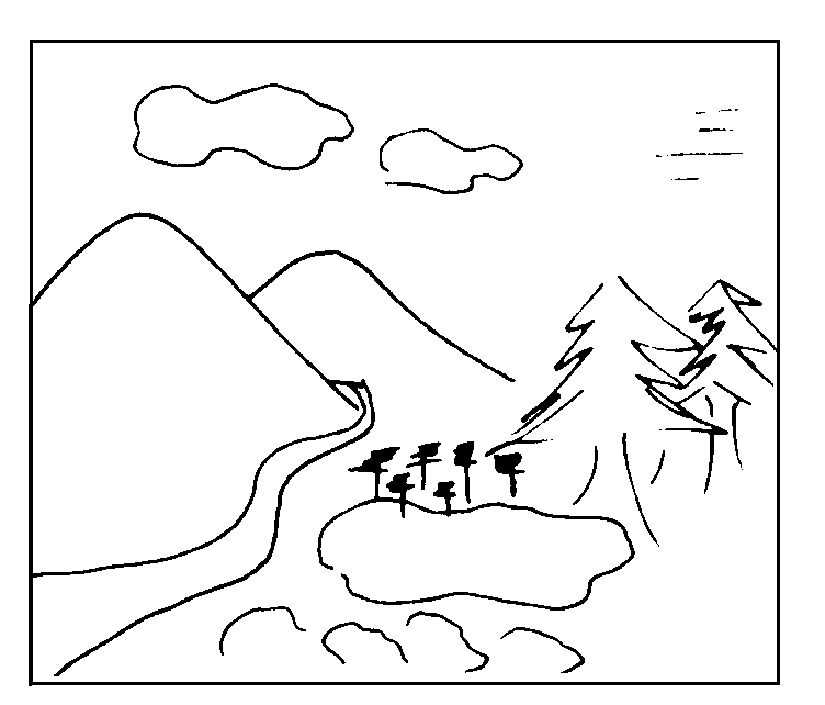
(4). Background images. If a background
image is black or white, it shouldn’t be lacquered. If a
background has strong strokes, apply a thin coat of
lacquer with a painting brush, following the brush
stroke on the picture.
|